Saturday, September 10, 2011

Pasta e Cremino

Here is another wonderful monday of mouthwatering treasures:

I learned to make two different pasta recipes, Penne All'arrabbiata and Bucatini All'Amatriciana. The shape of the pasta in both these recipes was specifically picked to match the sauce perfectly. For those who don't know, penne is a short pasta in the shape of hollow cylinders, while Bucantini (my favorite when I was cooking in my Florentine home hehe) are a sort of hollow spaghetti- like long, thin, delicious straws. Enjoy these recipes from class sllluuuurppp!

Penne All'Arrabiata: 

Can never have too much olive oil
+ 1 pound penne pasta
+ 6 large ripe tomatoes, peeled and chopped**
+ 4 garlic cloves, finely chopped
+ 1/2 cup fresh basil leaves
+ 1/2 cup olive oil
+ 1/2 teaspoon crushed red chili pepper
+ sea salt to taste
+ grated parmesan (lots of this if you're my father)

** Tomatoes are very easy to peel if done right. All you have to do is cut a shallow x at the bottom of the tomato, drop into some boiling water for about 30 seconds, then remove and put in some ice water. The skin should peel right off!

This recipe is so Italian: simple and delicious!!!

Put a pot full of water to boil for the pasta- this will probably take the longest so get it started!

Next, put the olive oil in a pan over medium heat and add the garlic, chopped tomatoes, basil and chili. Simmer all together for a few minutes so all the flavors come together, and then lower the temperature. Add some salt to taste

When the pasta is al dente (cooked but firm) drain and toss into the pan with the sauce, stirring it all up! A little trick we learned was to save a little bit of the pasta water for the sauce as well, because the starch left in the water kind of brings it all together.

Now you can transfer the pasta to a serving dish and top with parmesan cheese. Buon Appetito!


YUMMMMM!


Bucatini All'Amatriciana:
Spicy and Savory- will definitely make your mouth water. This dish is very popular in Rome!!

+ 80 grams (about 3 oz) of Guaniciale**
+ 1 medium onion, finely chopped
+ 15 gr (1/2 oz) red hot pepper- more or less depending on how adventurous you're feeling!
+ 1 can of diced tomatoes
+ 400 grams (about 13 oz) Bucantini pasta (can use spaghetti if you can't find this)
+ salt to taste
+ 80 grams (about 3 oz) grades Pecorino Romano cheese

**Guaniciale is kind of like the Italian version of bacon, but it is never smoked (like bacon). If this can't be found, it can be substituted with pancetta. Use bacon only if you can't find those!!! I'm still thinking of what I can put for my vegetarian friends...

Heat the meat over low heat until the fat melts. Transfer it to a clean plate and put aside.
Next, cook the chopped onion in the fat left over from the meat (hmmm scandalous, but dellicccciousss) until the pieces are soft. Add the pepper, mix it all up real good, then add the tomatoes and stir. Season with salt to taste, add the guaniciale, and let it all simmer for about 10 minutes.

Hopefully you remembered to put a pot of water to boil for the pasta by now- cook the bucatini until it is al dente, and mix with the sauce. Serve with the grated cheese on top and enjoy!!

hmmm that's-a-spicy!


Moving on... to the sweet stuff! In chocolate class we made an Italian classic, cremino. You really can't find this anywhere else. I tried to do some research on google about its history but can't find anything! The ultimate specialty- during the chocolate festival (a few posts back), you could see the cremino towers all around the booths: layers of white and milk chocolate- flavored with delicious, nutty hazelnut.
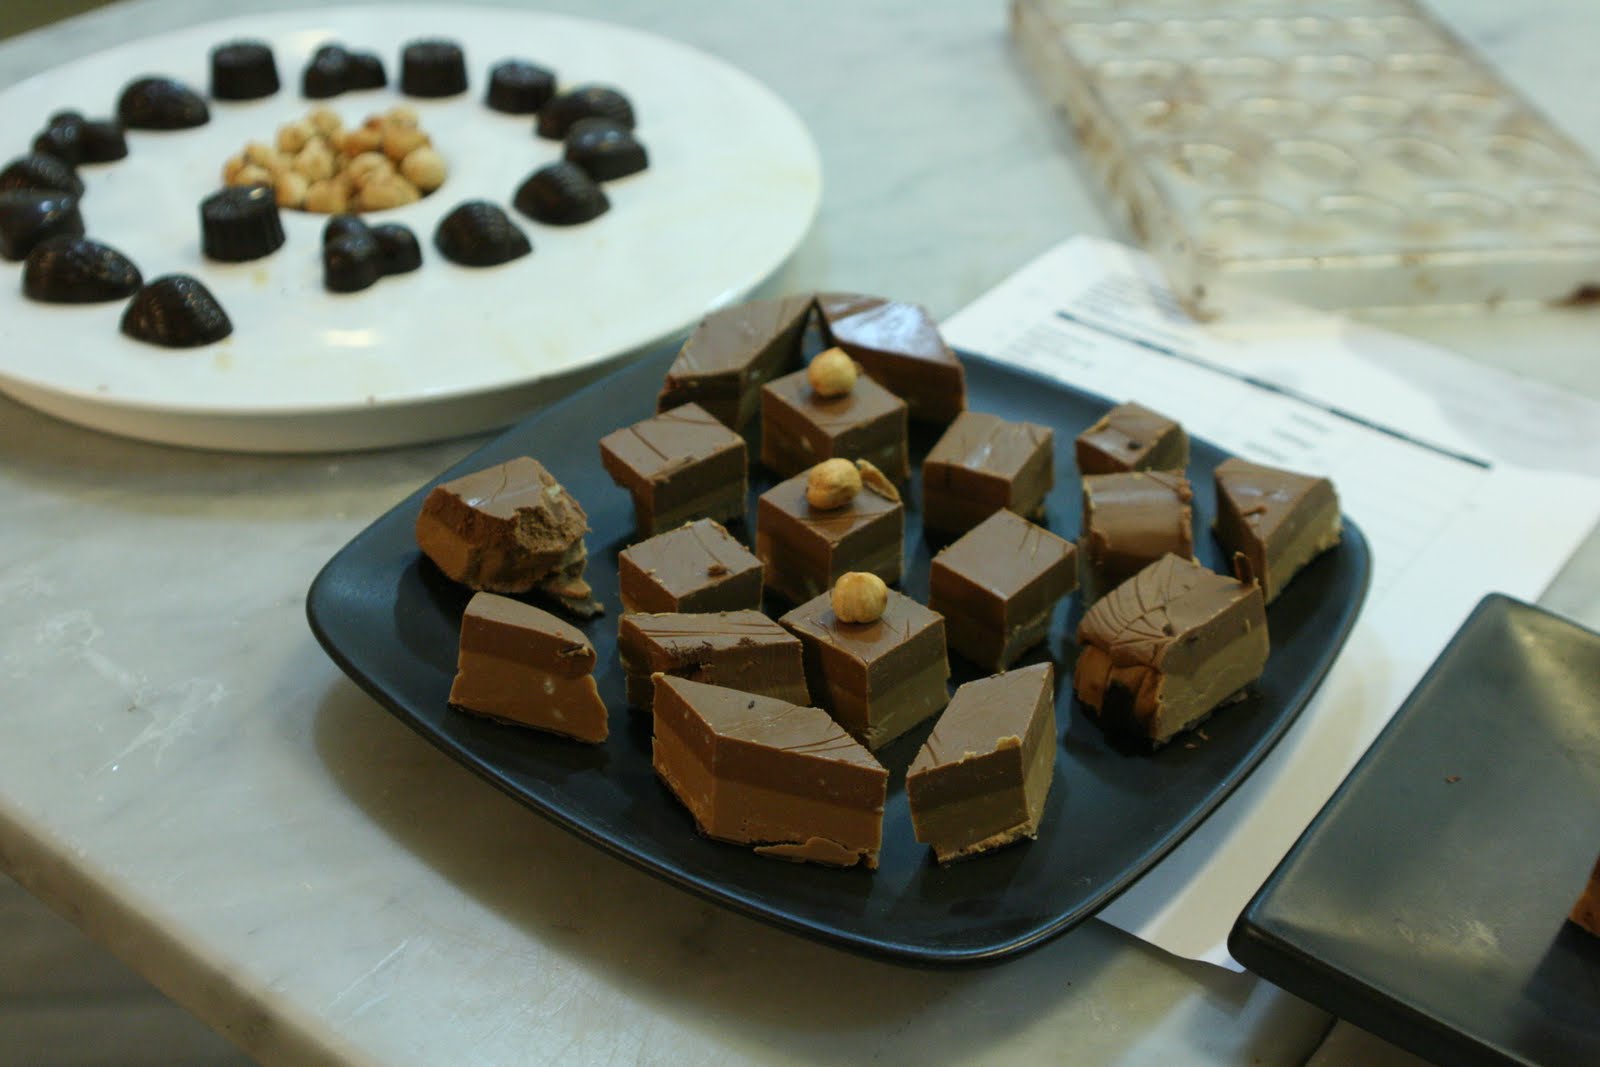
Though the recipe itself is easy, most of the ingredients are a bit hard to procure if you're not a professional pastry chef (or study in a culinary school hehe)

Cremino layer:
+ 500 grams White chocolate
+ 250 grams hazelnut paste
+ 10 grams cocoa butter (this makes it creamy and basically melt in your mouth ahhh)

Melt the chocolate and cocoa butter together and then add the hazelnut paste. You must make sure it is all evenly mixed and is fully melted and smooth, otherwise you risk getting globs of cocoa butter. Line a pan with parchment paper and spread the chocolate in an even layer. Put in the fridge to cool.

Cremino Alpino layer:
+ 500 grams milk chocolate
+ 250 grams hazelnut paste
+ 10 grams cocoa butter

Repeat the process from above, and when mixture is ready, smooth over the first cremino layer in the pan. You can repeat this as many times as you want (some of the treats sold at the fair looked over 20 layers tall!) but we only made the two layers in class.

Next, when all the chocolate is set, you'll want to cut it into pieces and indulge!!

We wanted to be precise. Notice the cocoa butter globs- EEK!

Cut into slices, then cubes!

Fun-sized pieces of cremino!

Our final, delectable masterpiece!


Wednesday, June 1, 2011

And the very same day...

I also had chocolate class. Oh, what wonders we made today! (again, Feb. 28). Chef Ciacci taught us the art of pralines! These were chocolate shells filled with all kinds of goodness, the possibilities were endless! Some were filled with a milk chocolate, black tea infused ganache. Others with a caramel sauce. Yet others with a white-chocolate, lemoncello filling. yum yum yum
 FEAST!

White and milk chocolate- get to melting!

Pure glucose, very sticky

the empty shells, waiting to be filled!

Fill'er up

ooooozing


Hey mambo!


I don't quite have the recipes on hand for the following masterpieces, but I wanted to allow you readers to indulge in some mouth-watering pictures. In class (Feb 28 I know i'm behind), we made some fresh pizza made from home-made dough, tomato sauce, and slices of buffalo Mozzarella. drooool
Kneading some pizza dough

mmmm pipin' hot pizza

We also made a different version of pizza from southern France. No cheese or tomato sauce... What were they thinking??
saute-ing LOTS of onions
mmmm French Pizza

Sunday, February 27, 2011

Ash's birthday

This was in no way my doing, but it was fabulous food related, and friend related- so I figured it was worth mentioning. It was my beautiful roommate Ashley's 20th birthday week and we had to celebrate, of course. Stephanie, her best friend forever and ever, teamed up with another one of our roommates (yes we have many) and created a MASTERPIECE of a cake. This cake-monster consisted of two layers of chocolate cake, glued together and frosted with a (semi) homemade nutella frosting (meaning they mixed nutella with vanilla frosting) and adorned with peanut m&ms and 21 candles. Feast your eyes:


you're gorgeous!!! happy birthday <3


Saturday, February 26, 2011

Perugia

We decided to take a quick little day trip to the city of Perugia. This name might ring a bell for several reasons: for some, this is the birthplace of Perugina, a wonderful chocolate company that fames itself for their delicious bacci (kisses- and an Italian kiss is ALWAYS better than a Hershey's hehe). Still some may recognize the name because it is where the eery and brutal case of Amanda Knox recently took place- there is even a lifetime movie!!

We boarded our train bright and early, and arrived in the city lost and confused. Thankfully, we found an English speaker who (somewhat) directed us to the city's center. We unknowingly set for a long and tiring trek
The "shortcut" 
Just a little lost
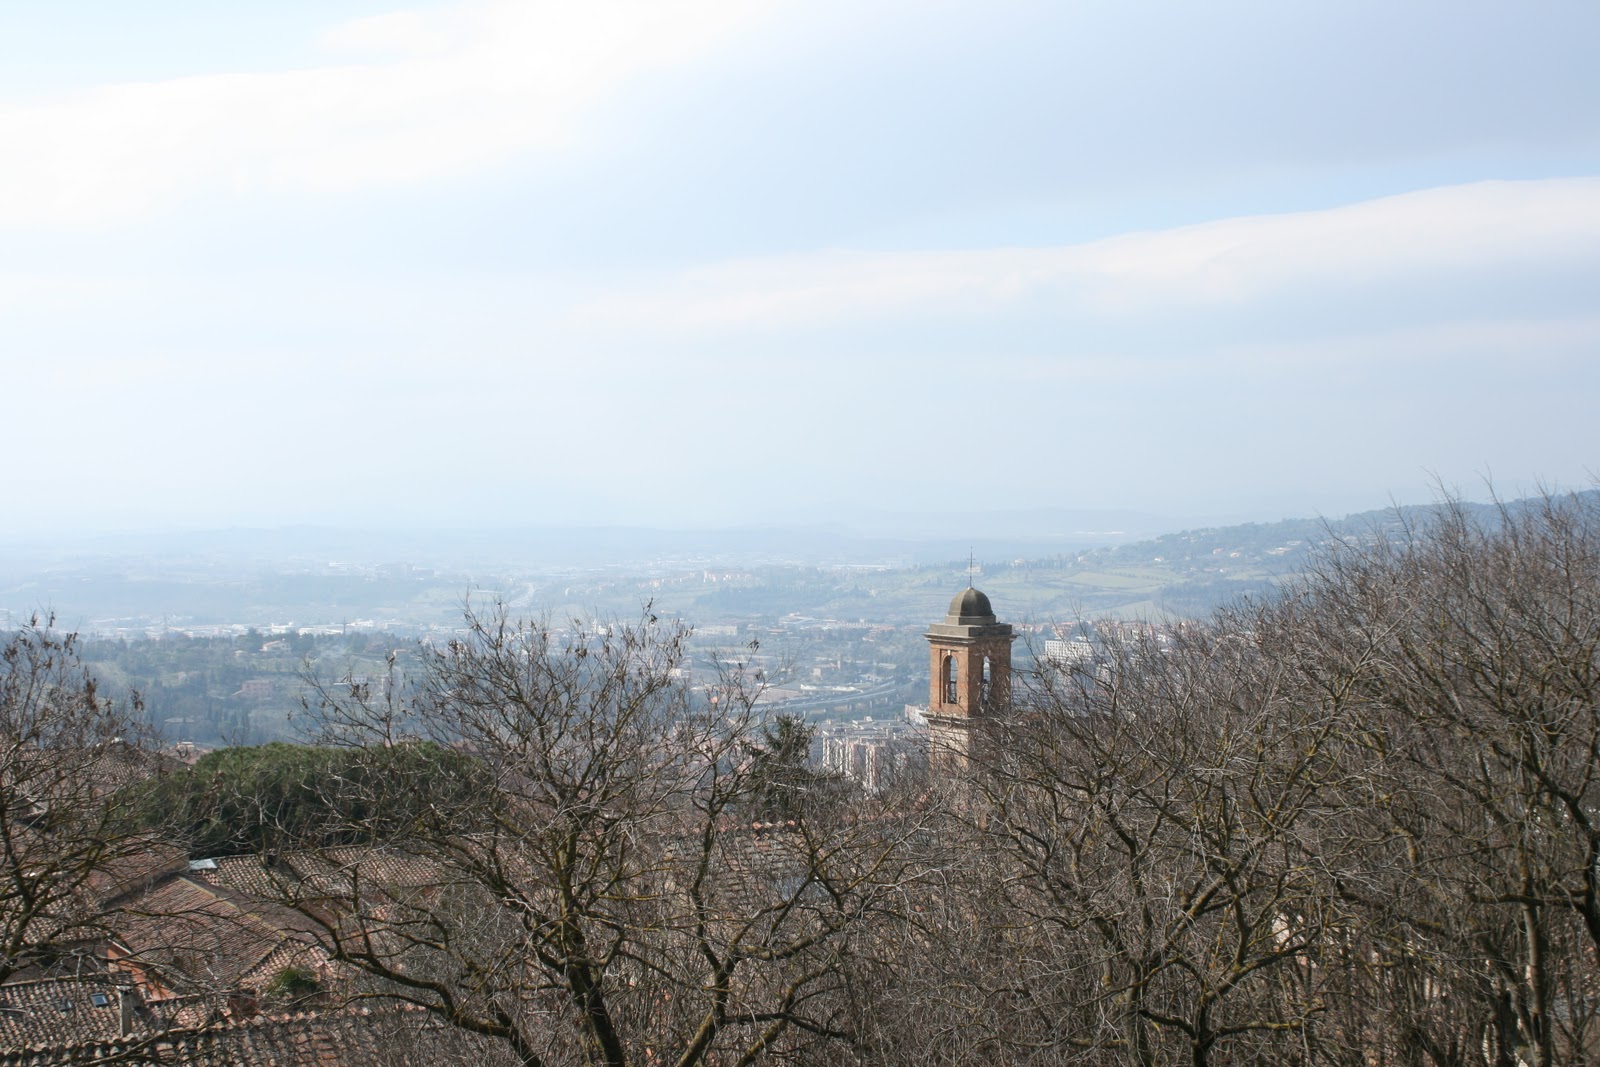
Finally we reached the city center, where an antique market was in full play. On the countless tables lay old broaches, hair pins, pendants, earrings, hats, vintage you name it! Several tables stood with boxes full of old records- Beatles, Stones, and Italian artists that I could not remember for the life of me. For me, however, the most impressive part was the breathtaking view


We walked around the city for a bit, but what first seemed new and exciting, now was cold and frustrating. I was so hungry and freezing, I could not focus on ANYTHING! We had planned to go to a specific restaurant, Darmicocco to be exact, and we simply COULD NOT FIND IT! We roamed around the city for what seemed like ages, when we finally stumbled upon the correct street. You could not imagine my relief when we saw the sign for the restaurant!!

Once we sat, a whole new adventure ensued. Not a soul in the place spoke a word of English, and for 20 minutes we tried to understand how to order, what to order, and how much anything cost. At last, a woman with very broken English explained that we really had no choice, that the menu was fixed, and we simply order the 4 course meal for the table. OH! well that could have been very easy... Let the feast begin!


Appetizer, not pictured, was a variety of different spreads (like bruschetta, patte, tapenade, etc). First course: polenta with tomatoes and cheeeeese. Second course, macaroni (with tomatoes and cheese). I must admit, after that we were all pretty full- but the meal was only starting! Next came a plateful of meats- chicken, beef, and turkey, together with salad and (more) bread. Finally the dessert course arrived, with a delicious margarita cake served with a sweet wine. Mama mia what a meal.

After the feast, everything in Perugia instantly became more beautiful. The sun came out, and our spirits were lifted


Finally, we all know a trip cannot be complete with some sweet. We visited the famous Perugina store, as well as a few other scrumptious delicacies :)

sweeeeet

Tuesday, February 22, 2011

Tempering

Our chocolate class today was a sort of introduction into the world of chocolate crafting. Contrary to popular belief, you cannot simply melt a bar of chocolate, put it in a mold, and expect to stick. In order to make those wonderful pralines, eggs, chocolate bunnies, and even bars, you must first TEMPER the chocolate. Large chocolate factories, of course, now have machines that do this for them, but it is important to understand the process if one wishes to be a master chocolatier.


The first thing we must understand is that different chocolates follow different rules. White chocolate is tempered differently from milk chocolate, which is tempered differently from dark chocolate. In class we mainly work with the finest of dark chocolates, so I will focus on that. In case you were wondering by now, tempering is the process of cooling down melted chocolate on marble to the JUUUSTTT RIGHTT temperature. This allows whatever chocolate creation we decide to make shiny, bubble free, and the right amount of crunchy. The taste is also altered (for the better of course)

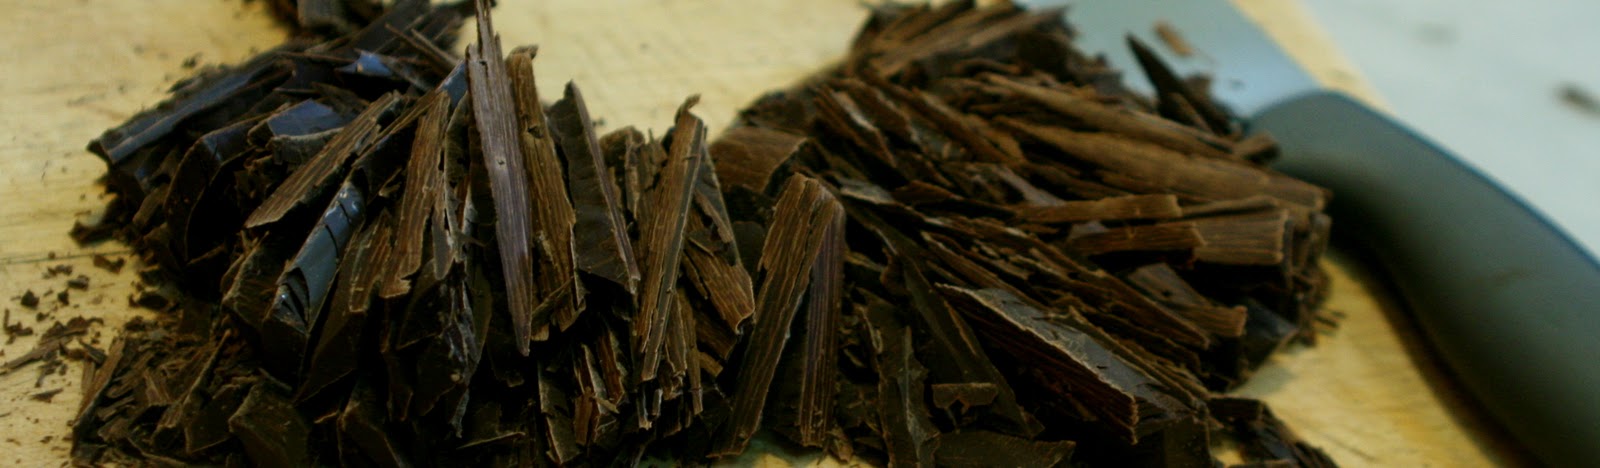
First, choose your chocolate and prepare it for melting- chop it up real nice so it doesn't take hours.
Chop Chop!
Yum!

After this is done, you are ready to melt. Two methods were relayed to us: the first, and the more traditional, is the bagno maria bath. Put a pot of water to boil, and place the bowl of chocolate on top of this pot. Constantly stir, and make sure not to overheat the chocolate, because you risk losing some taste. We normally stopped at about 45 degrees. Another, easier, method is to simply use the microwave. Place the MICROWAVABLE bowl in the microwave and heat for 15 seconds at a time- after each interval, take the bowl out and stir. Finally you will get wonderful, liquid gold:


As you can see, we poured some of the chocolate onto the marble. 2/3 of the chocolate to be precise. Then, we spread the chocolate and gathered, spread and gathered, until it formed little solid peaks- this means it is cool. At this point take the chocolate and mix it back together with the melted 1/3 in the bowl. If your chocolate is between 30 and 32 degrees, you got yourself some tempered chocolate!


This means you can now use this chocolate to make all kinds of wonderful things:
fun, decorative chocolate swirls
You don't even WANT to know what these were filled with
Hope your cravings aren't TOO bad right now ;)

Monday, February 21, 2011

Simply Lovely

Ah, another Monday of cooking...  As my loyal readers (hi dad!) probably know by now, I start the day with my Mediterranean diet class. Today we focused on two pretty simple (but very important!!!) recipe: The first, a "pasta di olive", or a black olive paste, aka tapenade.  I'm thinking I want to spice up this blog a bit, and make you guys a little more excited to read, so I will include the recipes!!! (using the ones given to us in class, to give proper credit) REJOICE!

So the following calls for the best quality brine-cured olives you can find, such as nicoise or gaeta olives. You should avoid using canned Spanish or California black olives- however, we ended up using precisely that in class because they were the only ones the teacher could find. The tapenade was still tasty!
Some high-quality, extra-virgin olive oil is a must!

Ingredients:
1 pound of pitted black olives
1/2 cup drained capers (I used less because I'm not crazy about them.)
1 clove of garlic, coarsely chopped
7 ounces (or 100 grams) salted anchovy, rinsed, boned, and finely minced
1/2 cup extra virgin olive oil, or more to taste (holy moly, I know)
a few drops of fresh lemon juice

The rest is really very simple- just put all the ingredients in a blender/food processor and blend very briefly (you don't want to to be TOO paste-y, it should be a rather coarse texture.) You can make this up to a week in advance to your special potluck party (hehe) and store in the fridge with a thin layer of olive oil poured over it, making sure to bring it to room temp and stir before serving, since olive oil kinda solidifies when it is too cold.

Taste and modify the above ingredients to taste... more lemon, less anchovy- w/e you want. Cooking is all about trial and error! We served it on crackers and with some julianne-cut veggies. Enjoy!


The first dish made- olive tapenade!

hmmmm wafting smells of olives!!


The next recipe was just as simple but essential to Italian life- Bruschetta! (and yes, it IS pronounces BRUS-KE-TA). If anyone is unfamiliar, this is an Italian garlic bread, and a "very good example of how the simplest food is often the best". To serve, you should use either Tuscan bread (which is hard and salt free), Pugliese bread, or  any other bread you find which as similar characteristics to those.

Ingredients:
1 large loaf of italian country white bread
4 garlic cloves, peeled and crushed
olive oil (of course)
2 cups whole fresh tomatoes, cut in small, yet coarse pieces
2 tsp oregano
2 tsp finely chopped fresh basil

Heat the oven to 450 degrees. Slice the bread 1/2 -inch thick and grill both sides until golden and crispy (Don't burn it!!). This should probably take about 4 minutes on each side. While that's cookin, mix the tomatoes with 1 tbsp olive oil (or mooooore), salt to taste, the basil, and the oregano. Let the mixture stand for a few minutes.
Brush the warm bread with olive oil on one side and gently rub that side with garlic- don't overdo it because the bread cab turn bitter tasting. Finally, spread the tomato mix on the slices. Serve warm and Viola!!

yummers


The enthusiasts will know that after this class, I have my chocolate class. However, I will have to regale the tales of that adventure tomorrow. Till then!